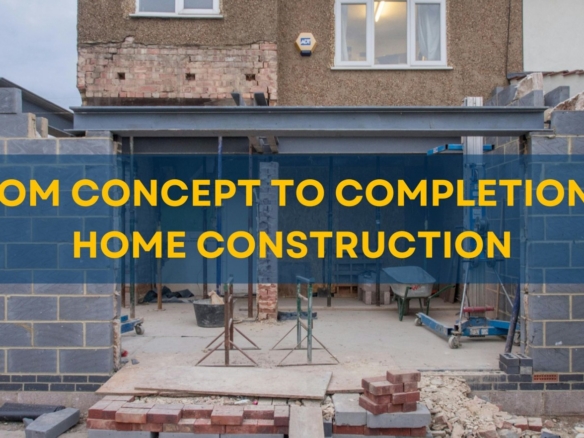
Bricklaying is an essential part of construction, providing strength and structure to buildings. Whether you’re building walls, patios, or foundations, understanding the bricklaying process ensures a durable and aesthetically pleasing result. This blog explores the art and science of bricklaying, including tools, techniques, and best practices, with a focus on construction in Mysore.
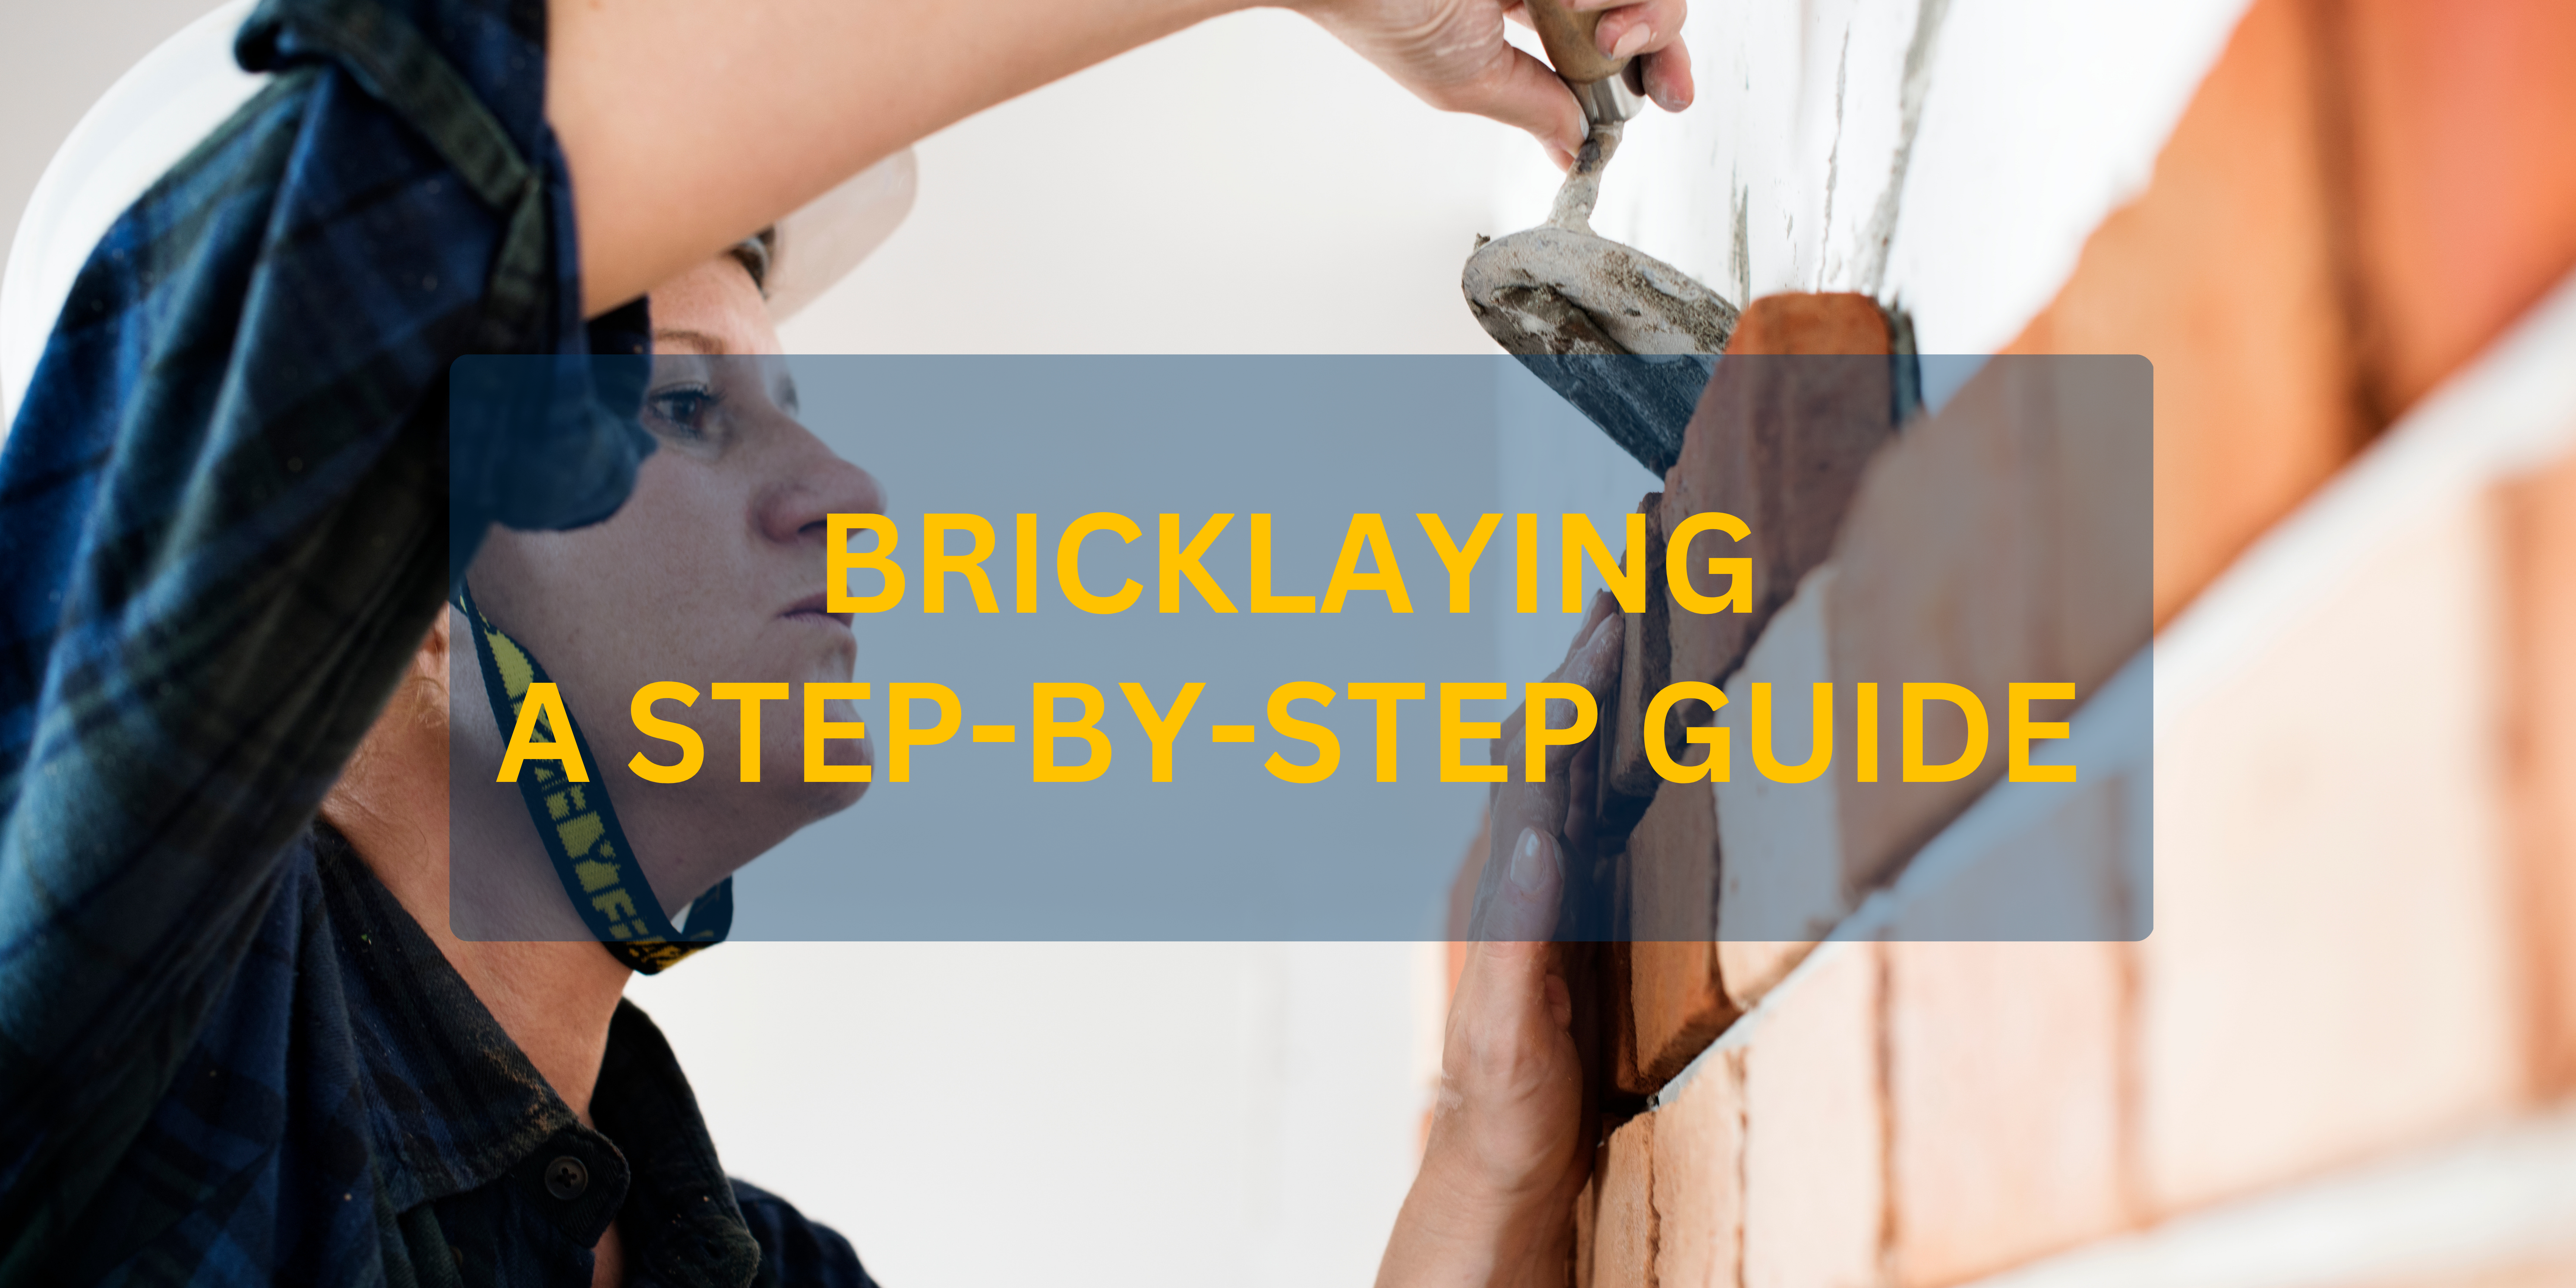
What Is Bricklaying?
Bricklaying is the process of constructing walls and other structures by laying bricks in a specific pattern and binding them with mortar. It’s a skill that requires precision, patience, and knowledge of materials to ensure durability and stability.
Tools and Materials Required for Bricklaying
- Before starting, gather the necessary tools and materials:
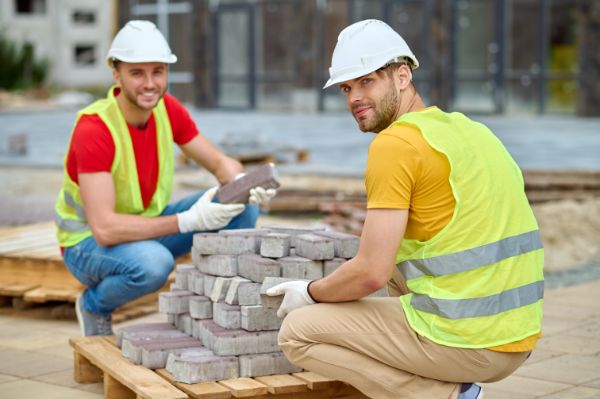
- Bricks: Choose the right type (e.g., burnt clay bricks, fly ash bricks).
- Mortar: A mix of cement, sand, and water for binding bricks.
- Trowel: Used for spreading and shaping mortar.
- Spirit Level: Ensures the wall is level and straight.
- Brick Hammer: For cutting or shaping bricks.
- String Line: Helps maintain alignment and consistency.
- Wheelbarrow: For mixing and transporting mortar.
- Chalk Line: Marks straight lines for brick placement.
- Measuring Tape: Ensures accurate measurements.
Bricklaying Step-by-Step Process
1. Preparing the Site
- Clear the area of debris and level the ground.
- Mark the dimensions of the wall or structure using a chalk line.
- Set up a string line along the length of the wall to guide alignment.
2. Preparing the Mortar
- Mix cement and sand in a 1:4 ratio with water to create a consistent paste.
- The mortar should be pliable but not too runny to ensure proper adhesion.
3. Laying the Foundation
- Lay a solid foundation using concrete or stone to support the wall.
- Ensure the foundation is level to prevent structural instability.
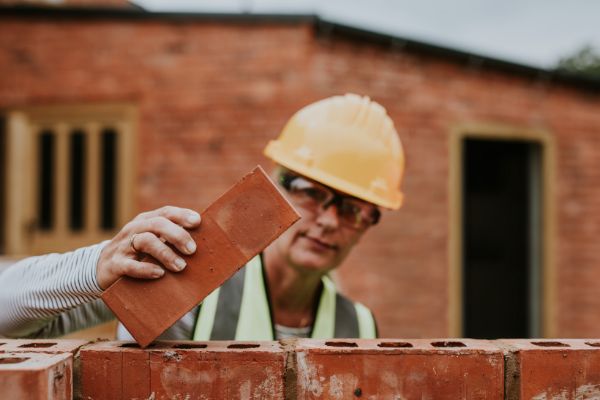
4. Laying the First Course of Bricks
- Spread a layer of mortar evenly along the foundation.
- Place the first brick at the corner and tap it gently with a trowel to set it in place.
- Lay subsequent bricks, leaving a 10mm gap between them for mortar.
- Use the spirit level to check alignment and level after placing each brick.
5. Building Up the Wall
- Continue laying bricks row by row, staggering the joints (brick bond) for added strength.
- Apply mortar on the sides of each brick before placing it.
- Check the vertical alignment with a plumb line regularly.
6. Finishing the Wall
- Once the desired height is achieved, remove excess mortar using the edge of a trowel.
- Smooth the mortar joints with a jointing tool for a clean finish.
- Allow the mortar to cure for at least 24-48 hours.
Brick Bond Patterns
- Choosing the right brick bond pattern enhances the structural integrity and appearance of the wall. Common patterns include:
- Stretcher Bond: Bricks are laid lengthwise, ideal for simple walls.
- Header Bond: Bricks are laid with their short end facing out, used for thicker walls.
- English Bond: Alternates rows of headers and stretchers for maximum strength.
- Flemish Bond: Alternates headers and stretchers within the same row for an aesthetic finish.
Tips for Efficient Bricklaying
- 1. Start with Quality Materials: Use high-quality bricks and mortar for better durability.
- 2. Maintain Consistency: Ensure uniform mortar thickness between bricks.
- 3. Work in Small Sections: Avoid rushing; build the wall in manageable sections.
- 4. Protect Against Weather: Cover the wall during rain to prevent mortar washout.
- 5. Regularly Check Alignment: Use tools like spirit levels and string lines to avoid misalignment.
Common Mistakes to Avoid in Bricklaying
- 1. Skipping the Foundation Check: A weak foundation can compromise the entire structure.
- 2. Inconsistent Mortar Mix: Incorrect ratios can weaken the bond between bricks.
- 3. Improper Alignment: Misaligned bricks affect both strength and appearance.
- 4. Overusing Mortar: Excess mortar can spill over and ruin the finish.
- 5. Neglecting Curing Time: Allow the mortar to cure properly for optimal strength.
Bricklaying Costs in Mysore
- The cost of bricklaying depends on several factors, including the type of bricks, labor charges, and wall dimensions.
- Labor Costs: ₹15-₹25 per square foot for standard bricklaying.
- Brick Costs: ₹5-₹15 per brick, depending on type (e.g., burnt clay, fly ash).
- Additional Costs: Mortar, tools, and transportation.
Note: Costs may vary based on market rates and project complexity.
Why Professional Bricklayers Are Important for Home Construction in Mysore
- Bricklaying is a skill-intensive process that requires precision and experience. Professional bricklayers ensure:
- Proper alignment and stability of the wall.
- Efficient use of materials, reducing wastage.
- Faster completion with a high-quality finish.
- Adherence to local construction standards.
Conclusion
Bricklaying is a fundamental aspect of construction that directly impacts the strength, durability, and aesthetics of your home. By following proper techniques and choosing the right materials, you can ensure a long-lasting structure. For home construction in Mysore, consider hiring professional bricklayers for reliable and efficient results.